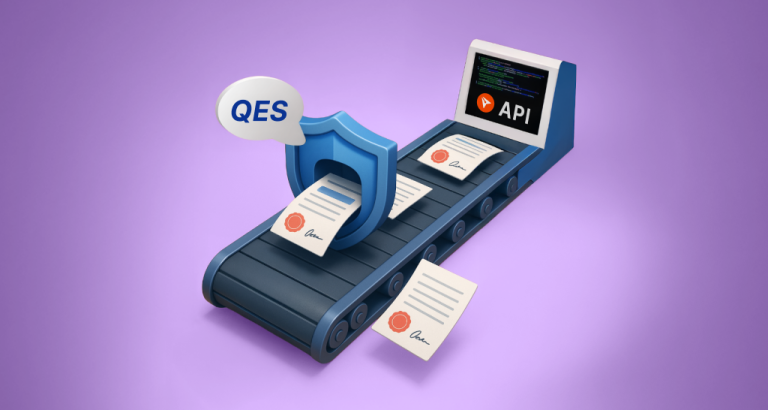
The BoldSign Postman collection makes it really easy for you to effectively work with BoldSign APIs to build and test your applications in the Postman app itself. This article provides a step-by-step guide for exploring and testing these APIs by sending HTTP requests and receive responses. Simply create a free sandbox in BoldSign to get started. Let’s dive in and start exploring BoldSign eSignature APIs in Postman collection!
Fork the collection
You can start by forking the BoldSign API collection to your workspace by clicking the button below. This creates a copy of the original collection under your workspace so that you can make further modifications to it.
If you want to view the BoldSign page in Postman or view the BoldSign API collection, you can do so by following the links before forking the collection.
Try out the APIs
You are now ready to start using the BoldSign eSignature APIs in Postman.
Sending a document
To send a document for eSignature, use the Document Send API located under the Documents category.
API Authorization
Before making any API request, authorization is required to confirm that you’re a valid BoldSign user. The simplest way to authorize your requests is by using your API Key.
Go to the Authorization Tab and Select BoldSign from the Type dropdown.
- Paste your API Key in the designated field.
If you don’t already have an API key, follow these steps to create one:
- Navigate to API Keys page in your BoldSign application.
- In the pop-up, enter a name for the API key, then click “Generate Token”.
- The API key will now be generated. You can copy it from the “Manage Keys” section.
Read more details about API key generation process from this article: Create API Key.
Once API key is set, Move to the Body Section. The required parameters are auto selected. You can just replace the values of the following parameters with your desired values.
- Title – Title for the signature request
- Signers[0][Name] – Signer’s name
- Signers[0][EmailAddress] – Signer’s email address
- Files – The files to be uploaded for the signature request
Click Send. The signature request document is created now, and that document’s ID will be displayed in the Body section. Copy that ID for further use.
Check out all the parameters and read more details about the Document Send API from this article.
Signing a document
The signer will receive an email about the signature request and can sign by clicking the Review and Sign button in that email. It is not mandatory for the signer to have a BoldSign account to sign a document.
Checking document status
You will receive an email when the signer has signed the document. You can also check the current status and get a entire summary of the document using the Document Properties API in the Documents category.
Choose the BoldSign API environment, set the copied document ID in the documentId variable, add your API key, and send the request.
The document’s entire details will be displayed in the Body section. The status Completed denotes that the document has been signed by all the signers.
Download the signed document and audit trail
You will receive the completed document and audit trail document in an email when all the signers have signed the document. You can also download the document using the Document Download API and download the audit trail using the Document AuditTrail API in the Documents category.
Since we have set the documentId in the environment variable, Add the API key and click Send. The document will be displayed in the body section. If you want to download the document to your file system, select the Save response to file option from the menu.
Conclusion
Thanks for reading this far. I hope this walkthrough of the document’s features gave you enough knowledge to explore other BoldSign eSignature APIs in Postman collection. You can also check out the developer documentation to learn more about BoldSign APIs.
Please let us know in the comments section below if you have any feedback. You can also reach us through our support portal or feedback portal.


